
No posts since Wednesday?? What??? Who is in charge here!! Oh, wait.. that's me. You know, now that I think about it the maid hasn't been here since Wednesday either! Oh wait.. that's me too. oops.
Life has gotten very interesting very quickly! I will fill you in on all the new stuff soon I promise!
I got a hold of a few new pieces last week and I got super inspired. So lets dive right in.

The finish on this was awful. But overall it had great bones, and I adore the roller feet! The color was so dark you couldn't even see the nice detail that was carves on the front.

Sanded the crap out of it!!! Now with all the dark stain gone you can actually see the detail.

I didn't feel the dark stain did this desk/vanity any justice. I am calling it a desk/vanity because no mirror was attached, it was also missing the top drawers, nor did it have a stool. But I do believe it was a vanity at one time, but without all the parts I feel I can make it into either when I'm done.
(I will have to find baskets to replace where the drawers used to be)


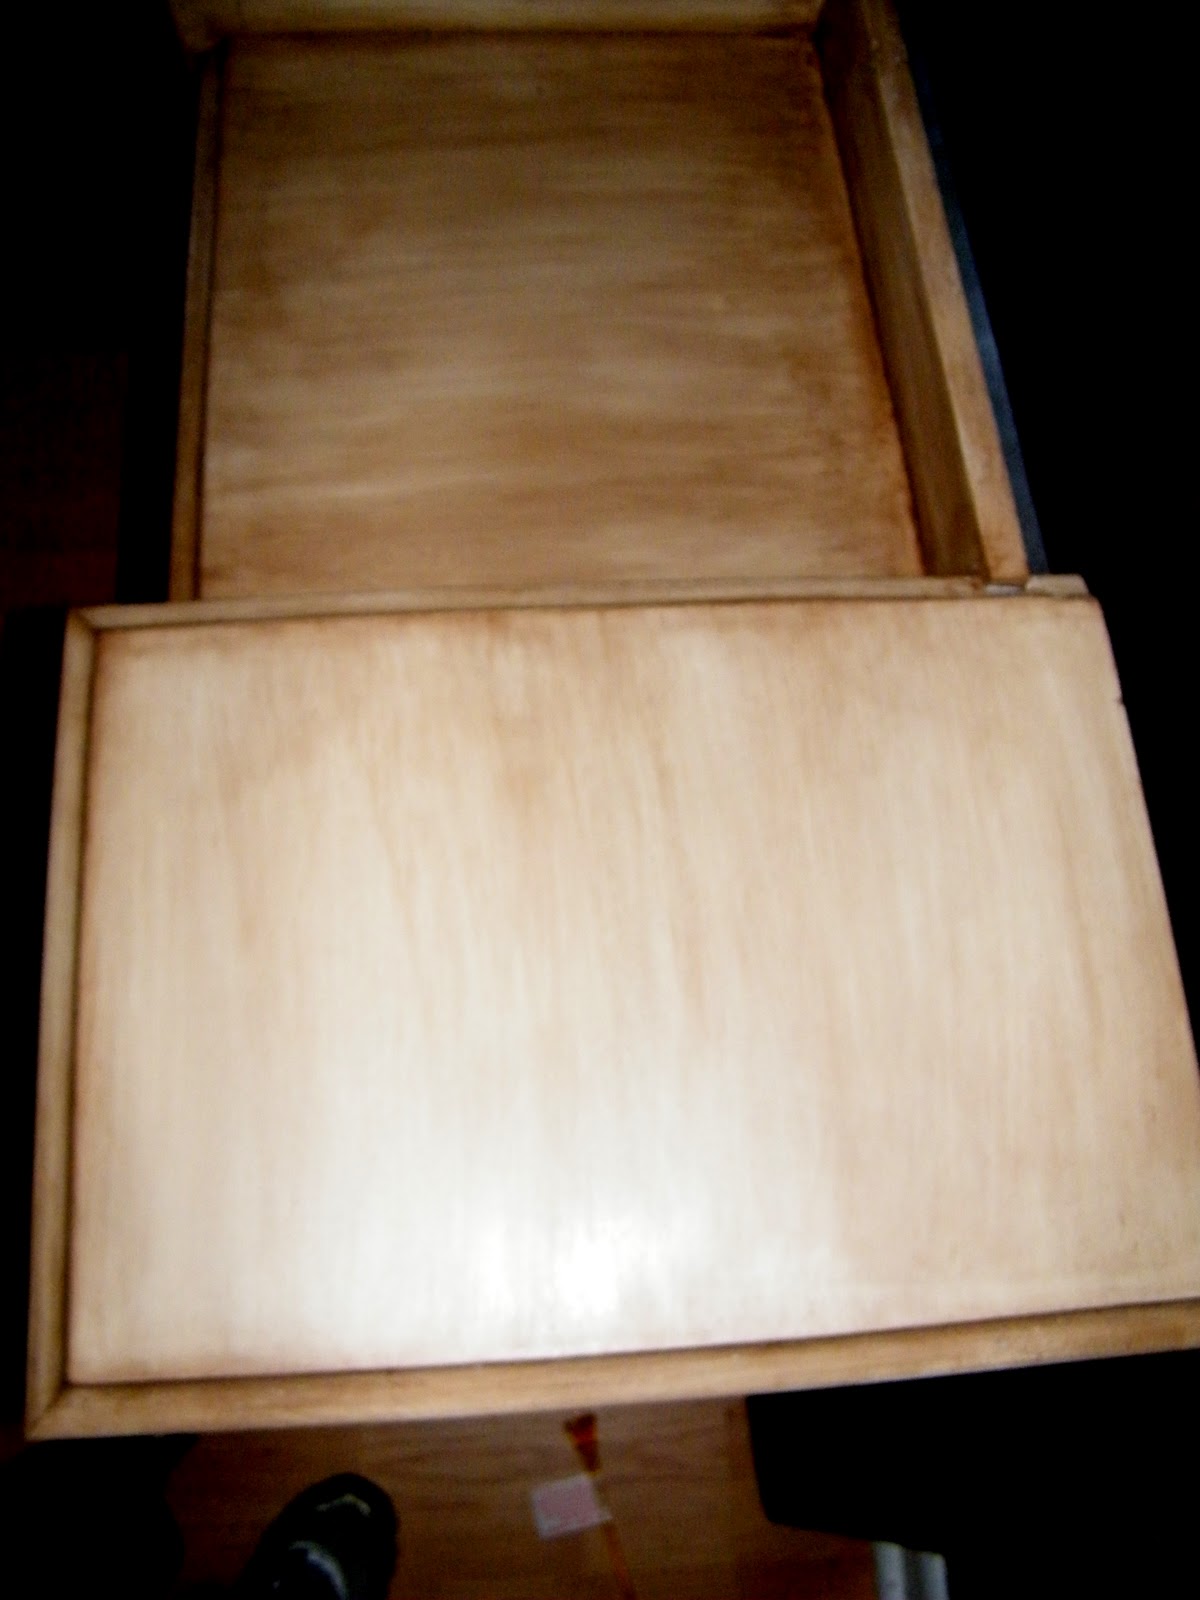
Here it is after it was primed with an aerosol bonding primer. Decided to use a bonding primer due to the fact that I didn't sand all the way to the bare wood. I really only scuffed up the finish.
Now for the transformation! I bought a quart of General Finishes "Milk Paint" in Linen to give the desk/vanity some depth.

If you have never used milk paint before- you're in for a treat! Yes, it does cost more -$19.95 a quart, but I only used about a 1/2 cups worth to cover the entire thing! So I have plenty more to use later. Oh, and be prepared when you open the can begin to stir- it starts out the consistency of yogurt. At first I thought I had bought old paint.. but as I kept stirring it began to loosen up. It will still be thick, but you only have to use a tiny bit at a time. I was over my heels (flip flops) in love by the time I was done!

Not a crisp white.. but a soft cream really did alot for it already!
Now for the fun part. I didn't want a clean painted look. I wanted it to have character.. look old, and expensive! I broke out my 220 grit sandpaper and distressed all the edges and detail.

Since I had bare wood exposed I wanted to take it a step further.. Lets glaze! Glazing can be daunting, some people love it, some hate it. I love the look when it's done to make a piece of furniture look old and exotic.. yep, I said exotic. I picked Van Dyke Brown out of all the different varieties General Finished has to offer. I first though black.. but I could totally see myself screwing it up and making it too dark. So brown it is!

I promise I didn't leave out the tutorial photos.... I just didn't take any. It was late in the afternoon when I started the glazing and I got really into it. Time got away from me and I didn't realize until after that I didn't snap any shots... boooooooooooo! I'll try better next time.

But isn't it cool! There are a few tips I will pass on if you decide to try glazing. Do small sections at a time. A little will spread over an area thinly, if using a cloth (I used a cloth) you can just dip a corner in with your finger and smooth it on. If you don't like it you continue to wipe with a clean cloth and it will come off, but will leave a "tint" behind. So many options when working with a glaze. I waited a bit before going back over the edges to create an aged look. This way I knew that the glaze wouldn't rub off. You can put as little or as much as you want to get the desired look your after.
See the edges?!! So in love with this.

This doesn't even look like the original piece! I was so excited to see life beam from this desk! Oh, yeah.. I think my mind has been made up on what to call it. Its a desk. There is still no stool or mirror. You could even use it as a foyer "drop all". It has so many possibilities, but for now its a desk.
An Antique French Desk. yeah, I like the sound of that. Wait!? Can I call it a French Desk?? I don't know if its french or not... But it sure looks French to me!
P.S If you noticed in the picture further above... there are still empty drawers where the baskets are supposed to be. Yep.. Haven't gotten them yet. It's on my to do list for tomorrow. I will update this post when it's 100% finished.
No comments:
Post a Comment